
 Ross Matthews
- April 21, 2024
- 0 Comments
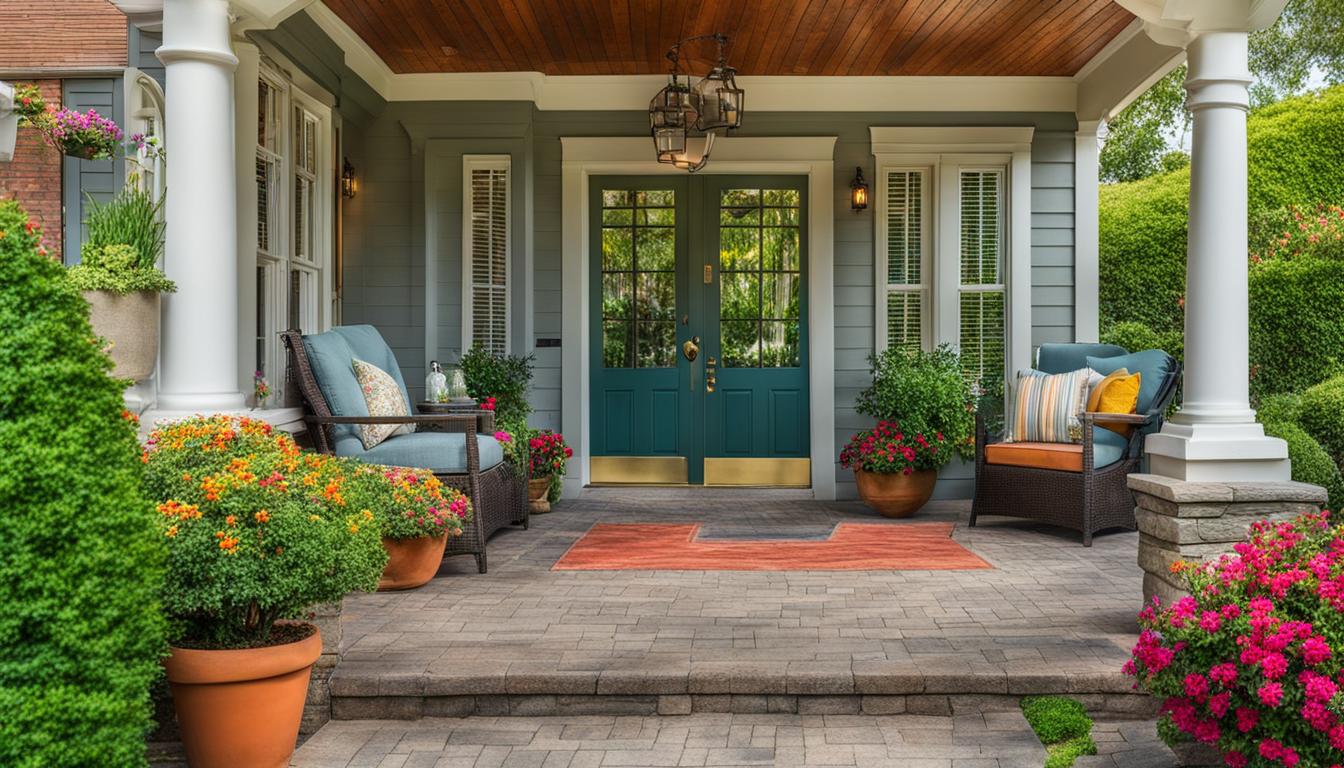
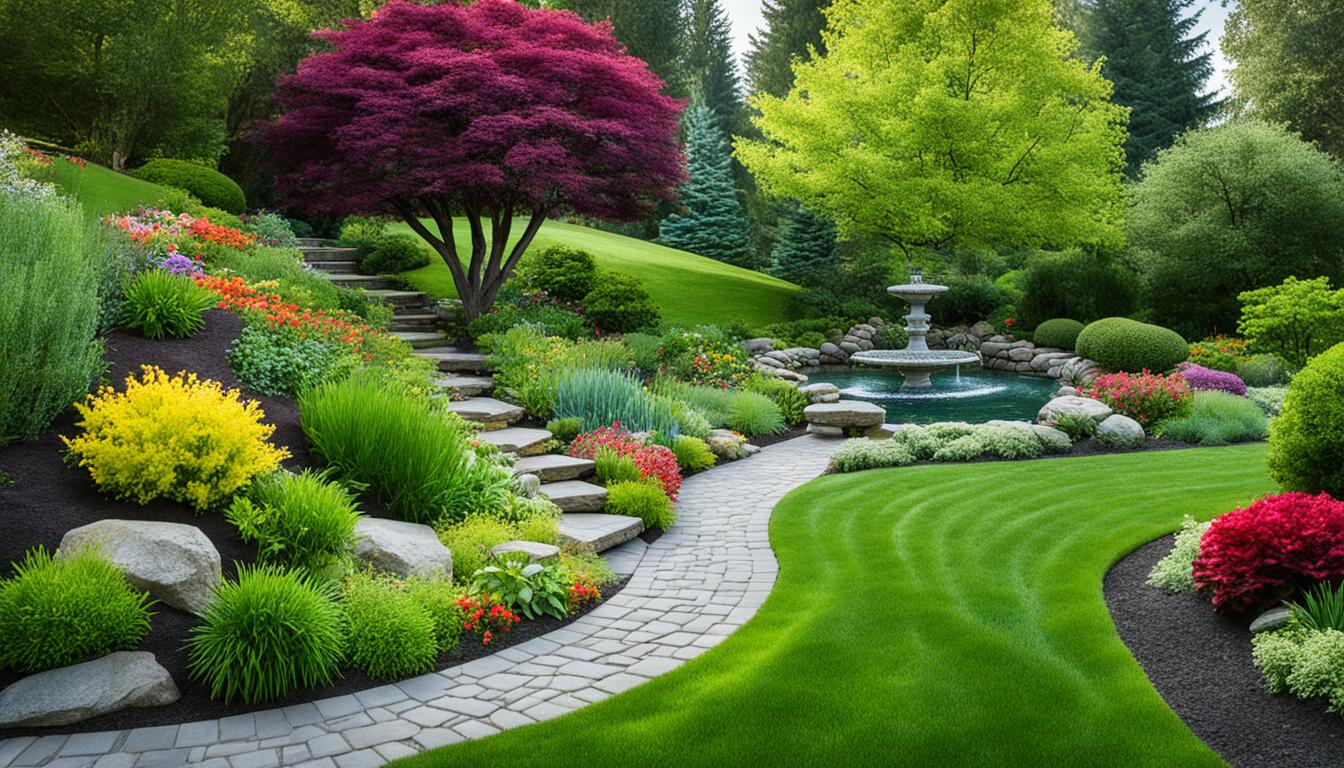
Spruce Up Your Yard: Top Landscaping Tips
Revamping your home’s exterior extends far beyond a fresh coat of paint or a decorative door wreath. A well-manicured outdoor space serves as the canvas for your abode’s first impression,…